- Solar Panels
- Rigid Solar Panels
- 1kw solar panel
A large 1KW solar panel kit to be used
The 1 KW solar panel kit from Zamp Solar to use for many applications. It can produce an electrical output of 5 kilowatts per day with sufficient sunlight.
They call it the Zamp Solar US 1020-Watt Deluxe Kit. It uses monocrystalline panels. It is a 1 Kw 12 volt solar system.
1 Kw Solar Panel Specs
Electrical(Per panel)Maximum Power:(Per Panel) Open-Circuit Voltages (Voc): Optimum Operating Voltages (Vmp): Optimum Operating Cur (Imp): Short-Circuit Cur (Isc): |
170W. 24.61V. 19.66V. 9.19A. 9.73A. |
Mechanical(per Panel)Dimensions: Weight: Warranty
ApplicationsCharging 12V battery bank and DC appliances. Also perfect for homes, RVs, trailers, motorhomes, caravans, boats and many more. |
1481 X 669 X 35 mm. 11 kg. |
If you purchase a product through a link on this page, I do get a small percentage of commission at no extra cost to you.
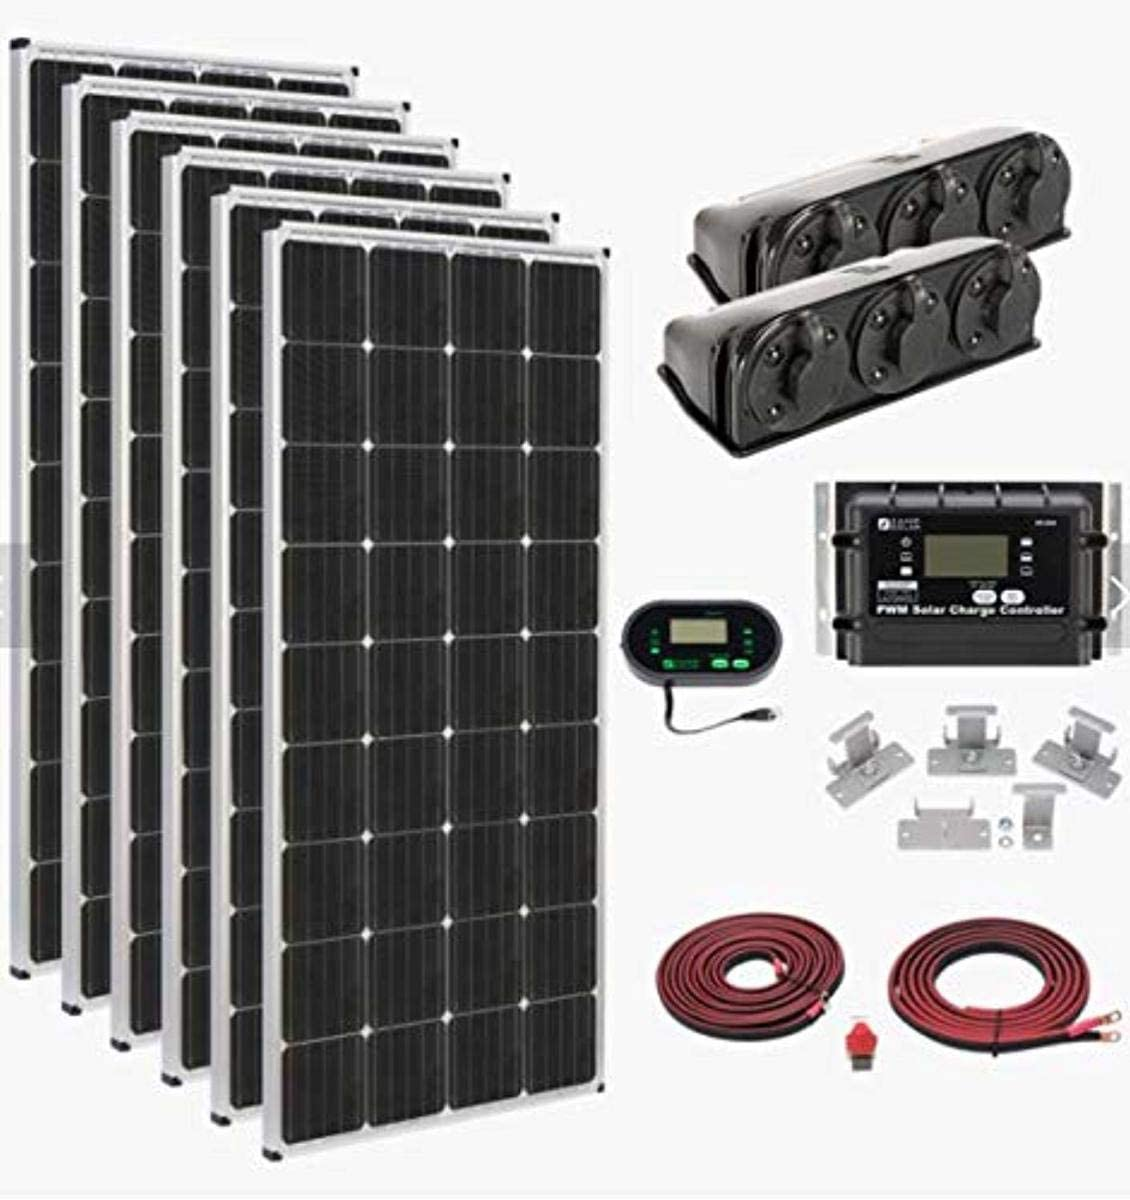
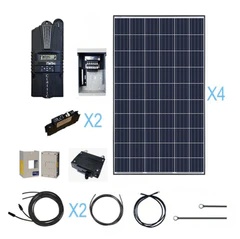
The 1KW solar panel kit comes with;
The 1 KW solar panel kit includes a set of six 170 watt Monocrystalline solar modules.
A 60-Amp, 5-stage PWM charge controller.
A pre-assembled wiring harness.
Two, 3-port roof caps. To easily add more POWER!
A pre-wired fuse between battery and charge controller for safety.
6 Sets of solar panel mounting feet – The clamp style allows easy removal for servicing
Digital LCD display with remote display option.
1KW Solar Panels
- These Monocrystalline solar cells allow for superb space efficiency. It delivers the greatest wattage per square meter.
- The panels are durable and can be mounted in any location with the Omni-Mount frame.
- The transparent POE (polyolefin elastomer) encapsulant provides superior moisture resistance in the most rapidly changing conditions.
60 Amp PWM Solar Charge Controller for the 1KW solar panel
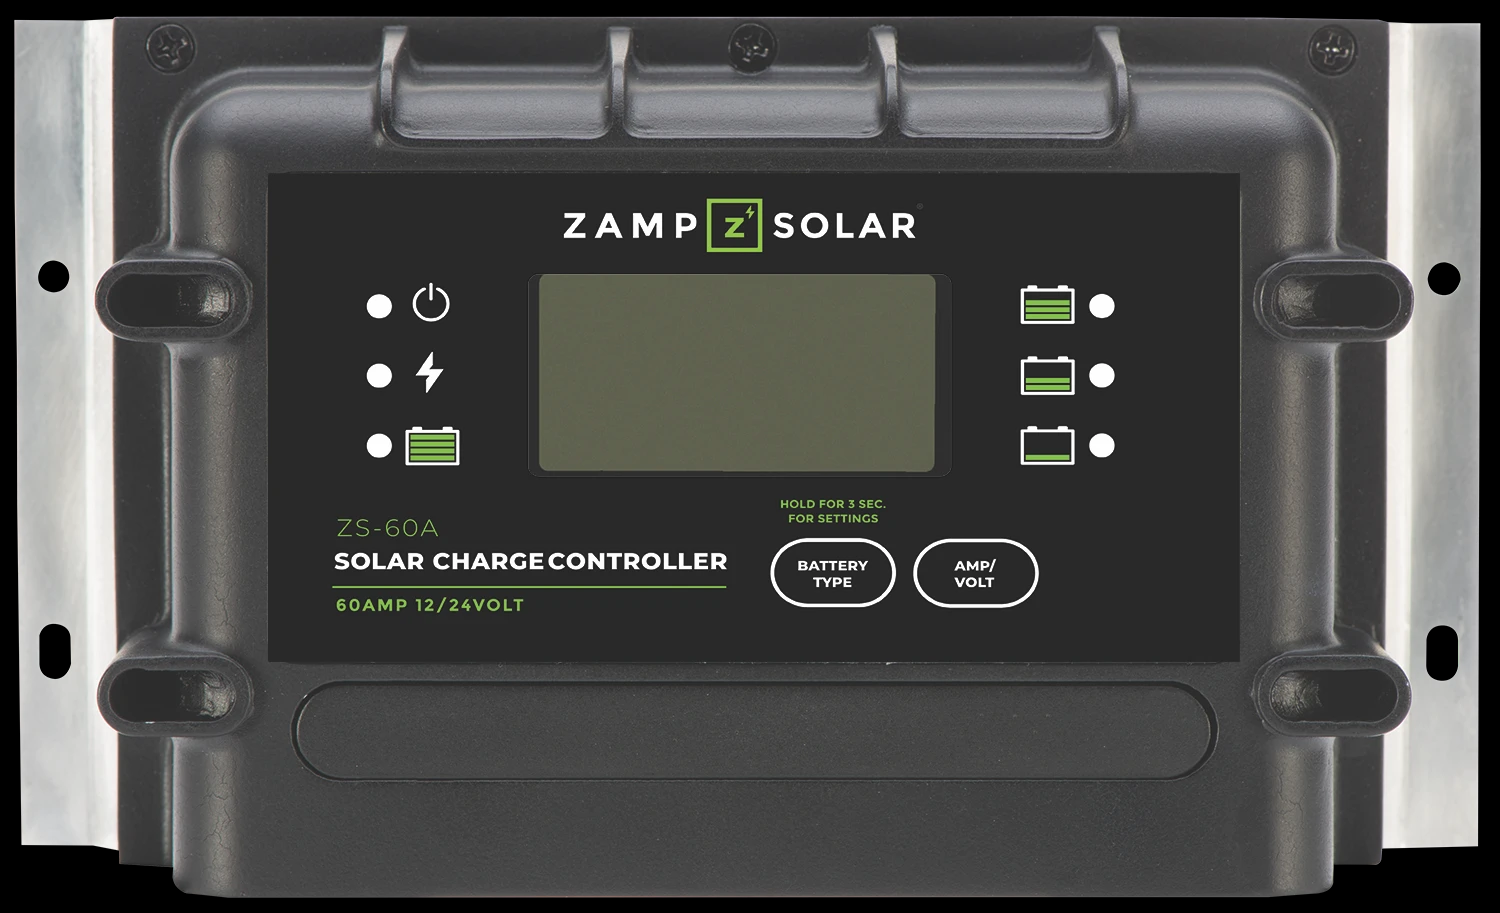 60 Amp PWM Solar Charge Controller.
- The pulse width modulation makes it a good low-cost solution for this system.
- With the 60-amp, 5-stage Pulse Width Modulation controller you can easy keep an eye on the power. You get real-time updates of electric operations.
- The 5 stage controller protects your battery from overcharging . This expands your battery’s lifespan. The controller also keeps your panel safe from backflow electrical currents
- It comes with a remote digital display. You can mount it away from your controller. You can see all the info that the charge controller displays at any moment.
- The controller can charge most types of twelve-volt batteries. Also, lithium.
60-Amp Charge Controller Specs
Watts: 1020.
Amps: 60 A.
Lithium Compatibility: Yes.
Remote Display Compatible: Yes - Remote Display Included.
Battery Temperature Sensor Compatible: Yes.
Mounting Options: Surface mount only.
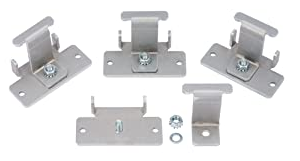 Stainless steel mounting hardware and Omni-Mount Feet.
Stainless steel mounting hardware and Omni-Mount Feet
- It provides for anti-rust and long working life.
- The Omni mount feet provide for easy installation and removal of the solar panels.
- The brackets allow for enough air to flow underneath the panels when mounted.
The pre-assembled wiring harness
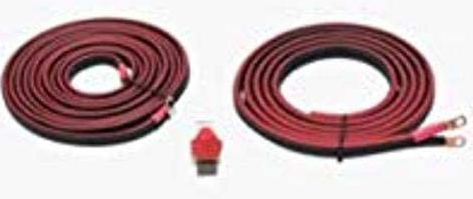 Solar wires with ring terminals and fuses.
The 1kw solar panel comes with a pre-wired kit complete with ring terminals and fuses.
This includes a UV-resistant wire to connect from the roof cap to the charge controller. Also, a UV-resistant wire connects from the controller to the battery.
The fuse block
The fuse block is for safety and protection of the 1Kw solar panel.
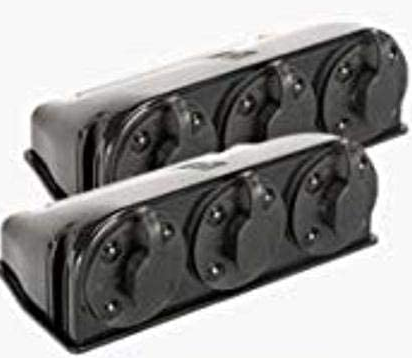 3 Port roof caps.
The two, 3-port roof caps
The roof caps make it an easy
plug-and-play system.
When expanding it is a case of
plugging the extra panel into the roof cap.
Digital LCD display with Remote Display Option
Install the remote display away
from the 60 Amp controller. You can then check the LCD display on the charge
controller.
Frame
This is a durable frame. It is corrosion-resistant and ensures extended outdoor use for several decades.
This is an Omni mount frame. You do not need pre-drilled holes. You can mount the mounting feed anywhere on the frame. You slide it into the perfect position to mount the panel.
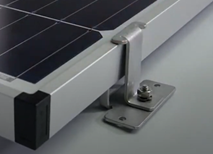 To slide the mounting feed.
The 1Kw solar panel frames come with superior rigidity. It is strong and has infinite mounting options.
With the easy release mounting feed, it becomes so easy to remove a panel when you need to do so.
The frames are of high quality with aluminum walls. This is to ensure that the panels can withstand heavy snow loads and high-speed winds.
The frame is IP67 rated.
Operating the 1 Kw solar panel
For operation of the 1kw solar panel you must have charger, battery and inverter.
The 1 Kw solar panel system comes with a 60 Amp charge controller
Divide the watts into volts for sizing of the battery.
Times 1020 watt by 5 hours sunshine X .85 for losses/ 12 volt x 2 for DOD.
You get 1020 x 5 x .85 / 12 times 2 = 722 Amp Hours .
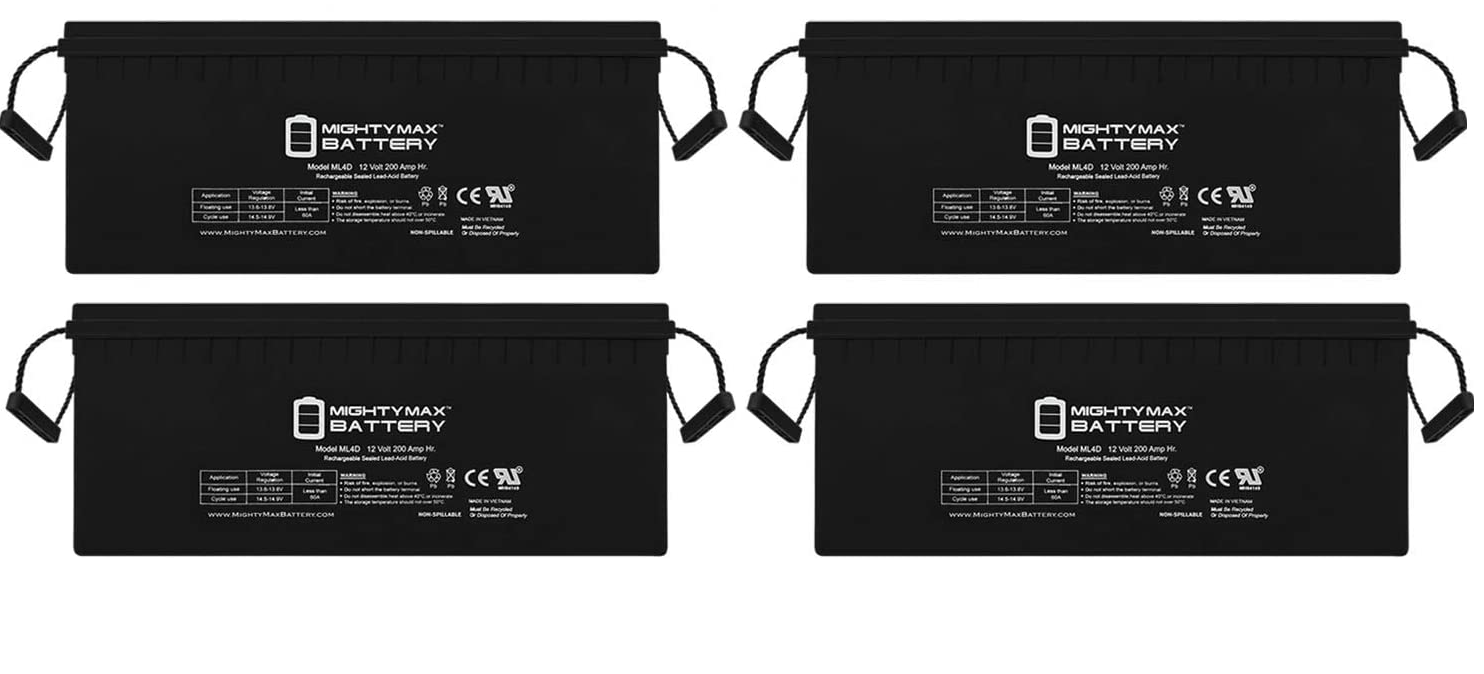
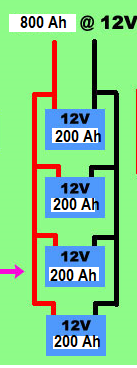
You can use a 750 Ah battery. In this case it could be best to buy 4 X 200 Ah batteries. Connect them in parallel and we will have a steady 800 Ah battery bank for our 1 Kw solar panel system.
Decide the max amount of watts to be used at once and size the inverter accordingly.
The max out of the module is 1020 watt.
Use an inverter 1 and a quarter to 1 and a half times more than max output.
We work with a 1020 x 1.5 = 1530 watt. A 1500 watt inverter will be a good choice.
How to use the 1KW solar panel kit
Use it for off-grid applications when and where needed.
The Omni Mount frame as well as the Omni feet make installation easy.
Use the solar cables between the modules and the charge controller. Also between the controller and battery. It makes the system flexible and easy to install.
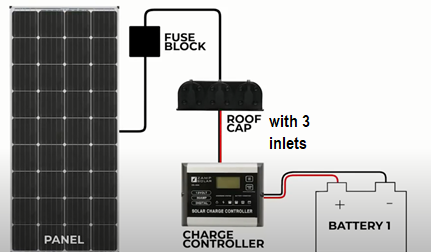 1 kW Solar Panel Connection.
The order of connection is important
- Connect the 12V battery bank to the Battery ports of the charge controller first.
- Finally, you connect the solar array to the solar ports of the charge controller.
Advantages
- The Omni mount frame, as well
as the Omni mount feed of the solar panels, make it easy to set up.The system is simple and quick
to install allow for infinite mounting options.
- Cables are dust and waterproof to provide for years of flawless outside operation.
- This is an easy plug-in and-go system. Easy to install. The 1 kW solar panel system is well protected from overcharging.
- The three-port roof caps ease expansions, upgrades, or any additions.
- The grade A monocrystalline solar cells come with anti-reflective coated glass. This gives the largest light absorption with high-efficiency output throughout the day.
Warranty
- The solar panels come with a 25
year Limited Peak Power Output Warranty.
- Other products carry a Limited
Product Warranty of 5 years.
Take Care
Remember the order of connection on the 1 kw solar module is very important.
To Mention
This 1kw solar panel system is
worth the money. The panels are well built. The frames are sturdy and well
manufactured. It ensures long years of use in outside and harsh weather
conditions.
These panels are good and
strong and provide good amps for recharging your batteries.
The charger seems small, but it is of high quality. It is reliable and the performance is excellent.
Remember you have to cover the panels with a blanket or something while you are installing. This is to avoid any electric shock.
In a Conclusion
Use the 1KW solar panel system for various power applications. Do not worry about laying of expensive cabling.
It is convenient with a quick and easy setup.

New! Comments
Have your say about what you just read! Leave me a comment in the box below.